Understanding Terminal Basics: Emulators, Shells, and What to Customize
We’ve all stared at that default terminal prompt a bit too long, craving a fresher, more personal command line experience. To get started, it helps to break down the terminal into three key parts: emulators, shells, and themes/plugins.
Terminal Emulators: Your Canvas
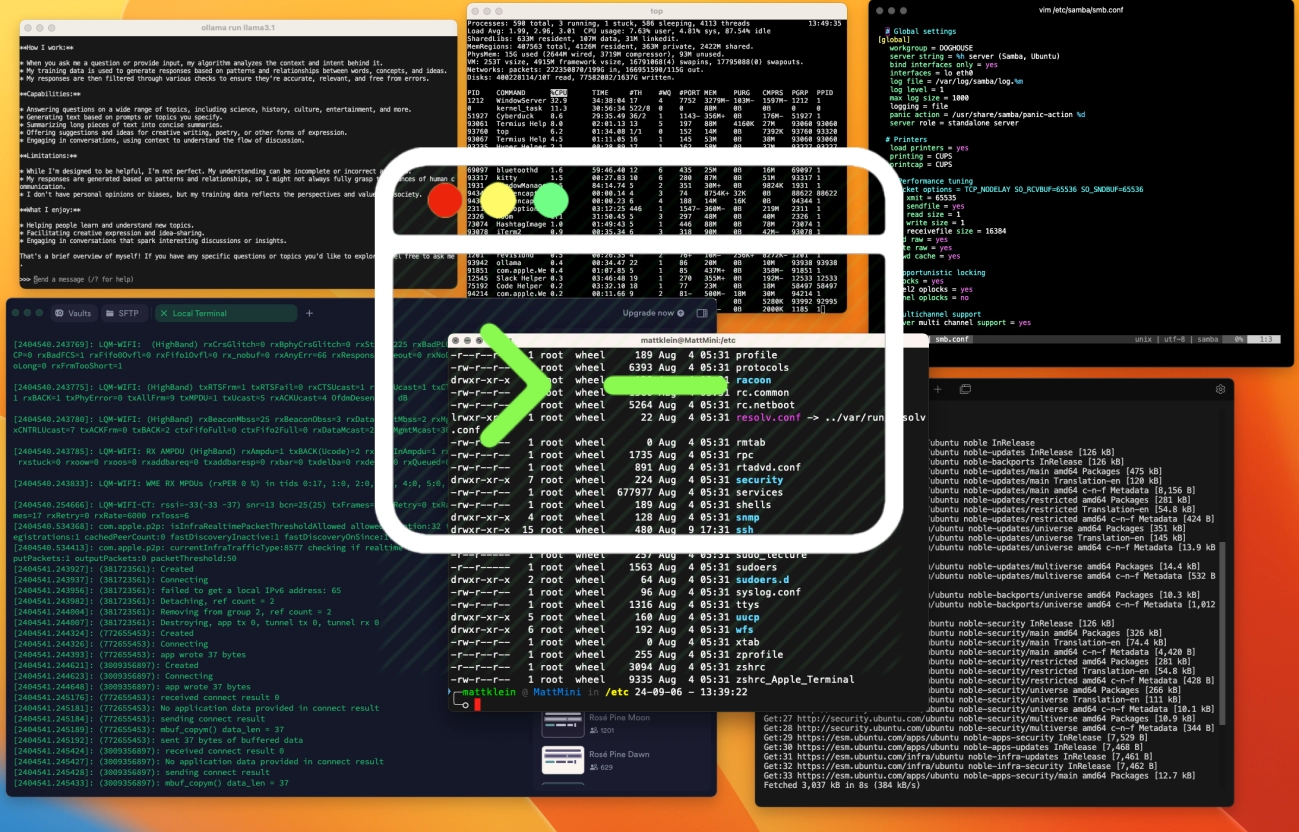
Think of terminal emulators as the window or canvas where your command line lives. Common examples include Terminal.app on macOS, GNOME Terminal or Konsole on Linux, and Windows Terminal on Windows. Each emulator offers different features and customization options such as font rendering, tabs, and transparency. Your choice here sets the foundation for your entire setup.
Shells: The Engine Powering Your Commands
Underneath that canvas is the shell – the engine interpreting your commands and managing your workflow. Popular shells include Bash, the long-time default for many systems; Zsh, known for its extensibility and plugins; and Fish, which shines with autosuggestions and user-friendly defaults. Switching shells can dramatically improve your command line efficiency and enjoyment.
Themes and Plugins: The Paint on Your Canvas
Themes add color, layout, and useful info like Git status directly into your prompt. Plugins extend functionality with syntax highlighting, autosuggestions, and Git integration. However, customization isn’t without its challenges. Common pain points include:
- Readability issues from poorly chosen color schemes or fonts
- Git integration glitches that slow down your prompt or clutter output
- Performance bottlenecks caused by heavy plugins or bloated configuration files
Quick Setup Assessment: What Do You Need?
Before diving in, ask yourself:
- Which OS do you primarily use? (Customizations and paths vary)
- Do you prefer a lightweight setup or feature-rich environment?
- How important is Git integration and shell autosuggestions for your workflow?
This quick mental quiz helps tailor recommendations to your needs while balancing performance and style.
OS-Specific Paths vs. Cross-Platform Tools
Be mindful that some customization steps vary based on your OS. For example, macOS users might tweak iTerm2 preferences, Linux users configure terminal profiles in GNOME Terminal, and Windows users adjust JSON settings in Windows Terminal. Thankfully, many tools and themes work cross-platform, so you don’t have to reinvent your setup entirely when you switch machines.
Ready to pick the right terminal and shell for your workflow? Let’s dive deeper into each aspect in the following sections. For more detailed tips, explore our terminal customization guides to find the perfect fit for your command line.
Choosing the Right Terminal Emulator for Your OS
Picking the right terminal emulator lays a solid foundation for your command line experience. Each OS brings its own favorites and quirks, so here’s a quick guide to help you find the best fit.
macOS: Why iTerm2 Stands Out
iTerm2 is the go-to on macOS for serious customization. It offers split panes, search, autocomplete, and great theming options. Installation is simple with Homebrew (brew install –cask iterm2), and it plays well with popular shells like Zsh and Fish. Plus, it supports transparency, blur effects, and custom fonts to make your terminal not just powerful but easy on the eyes.
Linux: Variety and Flexibility
Linux users have lots of solid choices:
- GNOME Terminal: Built-in for many distros, it supports profiles and color schemes.
- Konsole: KDE’s default, known for its robust tab management and scripting.
- Alacritty: Lightweight and blazing fast, with GPU-accelerated rendering.
Most support profile-based theming, letting you switch colors and fonts effortlessly. If you prefer a minimal, speedy terminal, Alacritty is worth a try. For deep theming, GNOME Terminal and Konsole have plenty of built-in options that keep things tidy.
Windows: Powered by Windows Terminal
Windows Terminal is the modern choice, combining PowerShell, Command Prompt, and Linux shells via WSL in one app. The JSON config file lets you customize colors, fonts, and key bindings. It supports tabs and split panes, perfect for multitasking. Windows PowerShell and PowerShell Core integrate seamlessly here, making the command line feel native and flexible.
Pro Tip: Start With What You’ve Got
Before jumping into third-party tools, get comfortable with your OS’s default terminal emulator. Knowing the basics helps avoid overwhelm. Then you can layer in customization, themes, and plugins based on what feels right. This way, your setup grows with your needs and won’t get in your way.
Choosing the right terminal emulator sets the stage for more personalized terminal themes and customization, giving you a smoother, more enjoyable command line every day.
Elevating Your Shell: From Bash to Zsh or Fish
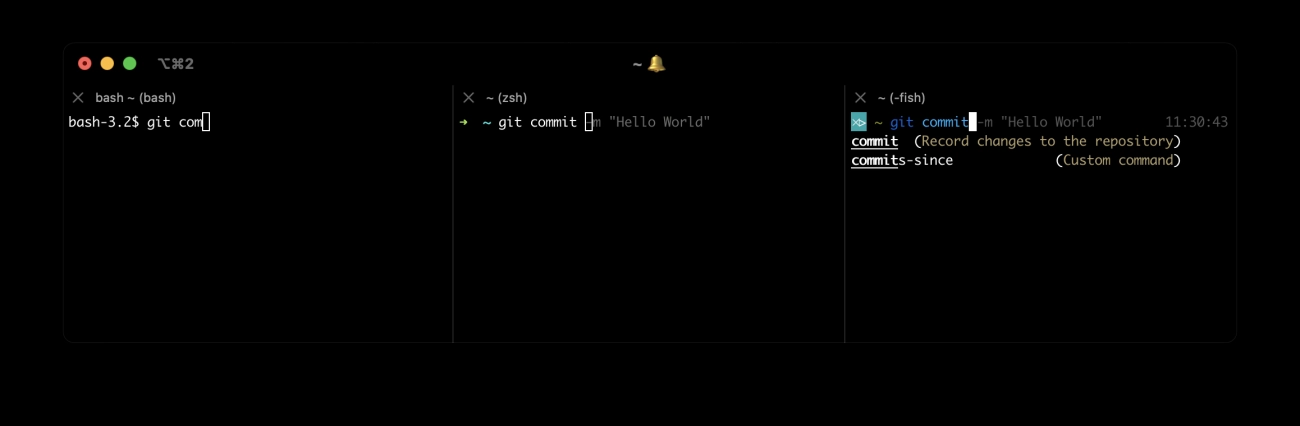
If you’re still using Bash, it might be time to upgrade your shell experience. Zsh and Fish offer powerful features that make your command line smarter and more efficient.
Why Switch to Zsh or Fish?
- Zsh is highly customizable and plays great with plugins. With Oh My Zsh, you get easy access to tons of themes and extensions that improve your workflow, like Git prompts and autosuggestions.
- Fish stands out with its simple setup and built-in autosuggestions that feel intuitive from the start.
Setting Up Oh My Zsh
Getting started with Oh My Zsh is quick:
- Run this command in your terminal: sh -c “$(curl -fsSL https://raw.github.com/ohmyzsh/ohmyzsh/master/tools/install.sh)”
- Edit your ~/.zshrc file to pick your theme. I recommend starting with Powerlevel10k for speed and visuals.
- Enable plugins like git, zsh-syntax-highlighting, and zsh-autosuggestions for smarter typing.
Trying Fish Shell
Fish is an alternative worth considering if you want less setup hassle:
- Install Fish via your package manager or from fishshell.com.
- Run fish_config in the terminal to open a web UI where you can easily tweak themes and functions.
- Fish comes with autosuggestions by default—no plugins needed.
Shell-Agnostic Tips
If you switch between shells or use multiple environments:
- Use cross-shell tools like Starship to keep a consistent prompt.
- Store your config in dotfiles and sync them with GitHub for easy access everywhere.
- Avoid shell-specific commands in your scripts to keep things flexible.
Switching shells gives your terminal a real boost in productivity. Whether you go with Zsh and Oh My Zsh or try Fish’s simplicity, you’ll enjoy a cleaner, smarter command line setup.
Top Terminal Themes: Curated Picks for Every Style
When it comes to terminal themes, picking the right look can boost both your focus and productivity. Whether you prefer dark or light, minimal or packed with info, there’s a theme for you.
Dark Mode Essentials
- Powerlevel10k: Fast, customizable, and Git-aware. It’s my go-to for clean, efficient prompts that show Git status without slowing you down.
- Git integration right in your prompt helps track branches, unstaged files, and more at a glance.
Light and Vibrant Themes
- Dracula: A classic, vibrant dark and light theme that’s easy on the eyes and supports many terminals.
- Solarized: Popular for its balanced colors, great readability, whether you’re on a dark or light background.
- Gruvbox: Warm, retro-inspired tones that add personality without causing eye strain.
Minimalist vs. Feature-Rich
- Agnoster: Feature-rich, with a lot of icons and detailed Git info—great if you want everything visible.
- Pure: Clean and minimalist with essential info only; fast and perfect for those who prefer simplicity.
Where to Find Themes
- GitHub Repos: Tons of open-source themes shared by the community.
- Terminal’s Theme Gallery: Many emulators like iTerm2 and Windows Terminal offer built-in galleries or easy import options.
Visual Inspiration
Try comparing your current prompt with new themes by looking at side-by-side screenshots or recorded GIFs. It’s a quick way to see what fits your style and workflow.
With these picks, you can personalize your command line to reflect your style and work smartly with clear, attractive prompts.
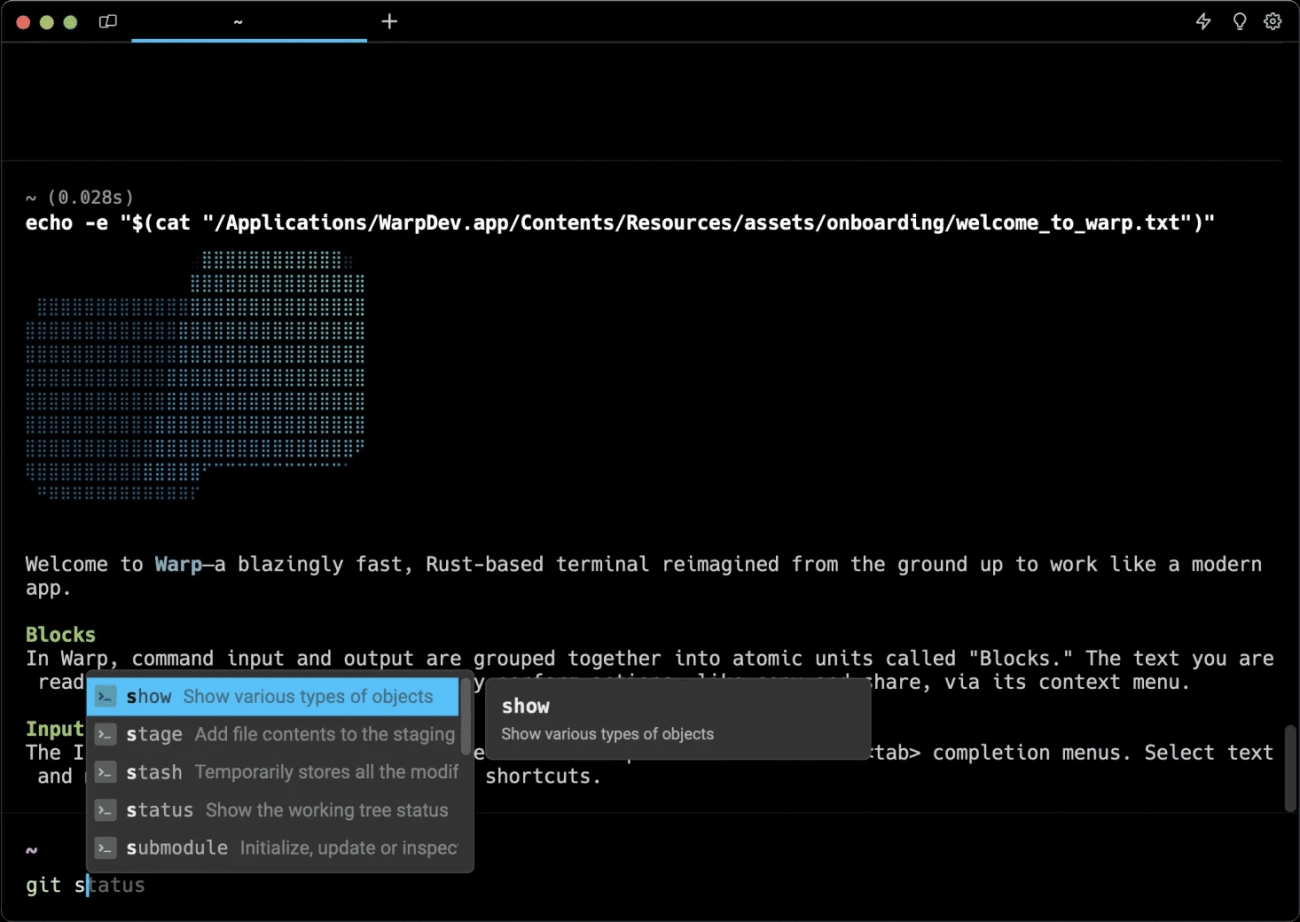
Essential Plugins and Extensions for Smarter Workflows
To boost your terminal experience, plugins and extensions are game changers. Here’s a quick rundown of tools that can make your command line faster, smarter, and more enjoyable.
Syntax Highlighting & Autosuggestions
- zsh-syntax-highlighting: Colors your commands as you type, making errors easier to spot.
- zsh-autosuggestions: Offers command suggestions based on your history, so you can save time typing.
Git Enhancements
- zsh-git-prompt: Displays Git status right in your prompt, keeping you informed about branches and changes.
- diff-so-fancy: Makes Git diffs cleaner and easier to read, perfect for spotting changes quickly.
Fuzzy Finding & History
- fzf: A lightning-fast fuzzy finder for files, history, and more. Handy for jumping around large projects or previously used commands.
- direnv: Loads environment variables automatically based on the directory you’re in—great for switching project setups seamlessly.
Advanced Tools
- tmux: Keep your sessions persistent across restarts—split windows, save layouts, and stay organized.
- starship.rs: A fast, customizable prompt that works across many shells, packed with Git insights and performance.
Plugin Compatibility & Troubleshooting Tips
- Check plugin documentation for conflicts, especially with multiple plugins altering your prompt.
- Use lazy loading when possible to keep your shell startup fast.
- Test new plugins one at a time to spot issues quickly.
- Keep plugins updated through their Git repos or package managers.
With the right mix, these plugins can turn your terminal into a powerhouse tailored perfectly for your workflow.
Fonts and Visual Polish: Making It Pop
Good fonts can make or break your terminal look. Nerd Fonts are a must-know—they’re patched fonts that add cool symbols like icons and powerline glyphs, crucial for themes like Powerlevel10k. Installing Nerd Fonts is straightforward: grab a patched font from their website, install it on your system, then set it as your terminal’s font.
For clean and readable code, Fira Code is my go-to. It supports ligatures, so common programming symbols join up nicely, making stuff easier to scan. If you’re rocking a 4K monitor, size up your font to avoid strain—around 14-16pt usually works well.
Don’t forget to tweak your terminal’s visual settings. Playing with transparency, blur, and borders can give your workspace a slick, polished feel without sacrificing readability. Customize your cursor shape and color too; a steady block or underline can help you track where you’re typing instantly.
Accessibility matters—especially if you spend hours in the terminal. Use high-contrast themes for better visibility. For color-blind users, many popular themes offer alternate palettes, so look for those to reduce eye strain and make Git status colors pop clearly.
By dialing in your fonts and visuals, you’ll make your command line not just functional but enjoyable to use every day.
Step-by-Step Customization Roadmap
Let’s break down terminal themes and customization into easy steps based on your experience level.
Beginner Blueprint
- Install Powerlevel10k for a fast, Git-aware prompt that looks sharp right away.
- Add syntax highlighting and autosuggestions plugins like zsh-syntax-highlighting and zsh-autosuggestions.
- Spend about 10 minutes on this setup—quick and effective.
Intermediate Builds
- Bring in fzf for fuzzy file finding and command history.
- Customize your .zshrc file with handy aliases to speed up common tasks.
- Tweak your theme colors or try alternative themes like Dracula or Solarized to fit your style.
Advanced Personalization
- Use JSON or YAML files to create dynamic, context-aware terminal themes that change based on your current project or git branch.
- Sync your terminal colors and wallpaper using tools like wal for a cohesive desktop look.
- Explore automation scripts that adjust your prompt or plugins dynamically.
Cross-OS Harmonization
- Write unified shell commands or conditional snippets in your dotfiles to ensure your setup works smoothly on macOS, Linux, and Windows.
- Use environment variables or shell functions to maintain consistency without extra hassle.
This roadmap keeps things structured and manageable, helping you personalize your command line from day one through expert levels.
Troubleshooting Common Hiccups and Best Practices
When customizing your terminal themes and setup, some bumps are normal. Here’s how to tackle common issues and keep things running smoothly.
Fix Font Rendering Issues
- Reinstall Nerd Fonts or switch to a well-supported font like Fira Code if characters look off.
- Check your terminal emulator’s font settings, especially for ligatures and patched glyphs.
Resolve Plugin Conflicts
- Disable plugins one by one to spot clashes.
- Use lazy loading to speed up your shell startup by only loading plugins when needed.
- Keep plugins up-to-date and remove those you no longer use.
Audit Performance
- Inspect your .zshrc or shell config for unnecessary commands or duplicate entries.
- Use tools like zsh-bench or simple timing commands to profile startup time.
- Aim for a lean config focused on essential features.
Backup and Version Control
- Store your dotfiles (like .zshrc, theme configs, and plugin settings) in a Git repo.
- This keeps your setup safe, syncable across machines, and easy to restore.
Security Tips
- Only install plugins and themes from trusted sources and active repositories.
- Avoid running random install scripts—review them first.
- Regularly update to patch potential security holes.
By following these practices, you’ll keep your terminal themes and customization sharp, fast, and secure.